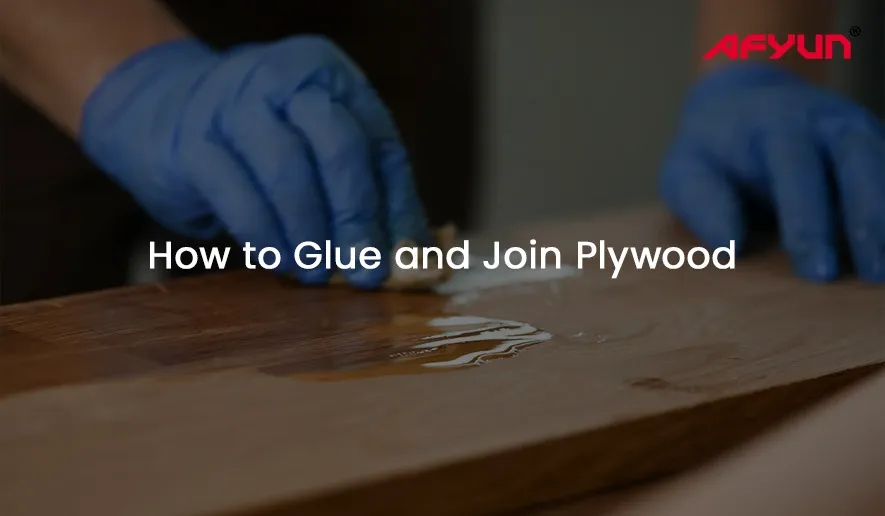
So you’ve got your hands on some trusty plywood, ready to bring your project to life. But wait, how do you transform those individual panels into a seamless masterpiece?
The answer lies in the art of glueing and joining.
Don’t worry, even if you’re new to the world of woodworking, this guide will equip you with the knowledge and confidence to tackle this task like a pro.
Step 1: choosing your glue
The first step is picking the right glue for the job.
For plywood projects, your best bet is aliphatic wood glue. It’s easy to use, dries strong, and cleans up with just water. Look for brands like Titebond II or Gorilla Glue Carpenter’s Wood Glue.
Avoid using superglue – it dries too fast and won’t create a strong, lasting bond.
Step 2: prepping your plywood
Before the glue flies, make sure your plywood is ready to be attached.
Here’s how:
- Cut clean: Use a sharp saw to ensure straight, even cuts. Rough edges won’t glue well.
- Sand smooth: Give both glueing surfaces a light sanding to remove any dust or debris.
- Test fit: Dry-fit your plywood pieces to ensure they align perfectly. Practice makes perfect!
Step 3: spreading the glue
Now comes the fun part – applying the glue! Use a brush or roller to spread a thin, even layer on one of the glueing surfaces. Avoid putting too much – excess glue weakens the joint.
Step 4: clamp the pieces
Here’s where the clamps come in.
Clamp the glued pieces together firmly, applying even pressure across the entire joint.
Use enough clamps to prevent gaps and ensure a strong bond. If you don’t have clamps, improvise with weights like heavy books or bricks.
Step 5: let the glue set
Resist the urge to break out the dance moves just yet. The glue needs time to work its magic.
Refer to the glue’s instructions for drying time, which can vary depending on the brand and thickness of the glue layer.
Step 6: Cleaning Up the Mess
Once the glue is dry, you might notice some squeeze-out around the joint. Wipe it away with a damp cloth before it dries completely.
Remember, a clean project is a happy project!
Best glues for plywood in India
Epoxy provides the strongest adhesion for laminating or heavy-duty joins, while urea-formaldehyde suits budget indoor projects. Always select E0/E1 certified glues to minimize emissions.
Advanced plywood joining methods
Lap joints overlap edges for added strength, dado joints use grooves for flush fits, and pocket holes hide screws for clean looks. Tongue-and-groove or dowel joints align sheets precisely, ideal for laminating to increase thickness. Miter and box joints offer superior load-bearing capacity when glued properly.
Gluing plywood sheets together
For edge-to-edge or face-to-face lamination, apply thin glue layers, align with dowels, and clamp evenly for 12-24 hours to avoid warping. Use rollers for uniform spread on large surfaces and reinforce with nails spaced 6-8 inches apart post-gluing. This method builds thicker panels effectively for furniture bases .
Strongest plywood joints
Miter joints with glue prove strongest in tests, followed by splines and box joints for shear resistance. Epoxy-reinforced butt or rabbet joints excel for 90-degree corners, outperforming nails alone. Combine glue with mechanical fasteners for maximum durability in load-bearing applications.
FAQs
- What is the best glue for plywood?
Aliphatic wood glue like Titebond II or Fevicol SH offers strong, water-cleanup bonds; epoxy is ideal for waterproof needs [1][2].
- How to glue plywood together without clamps?
Use heavy weights like bricks, nails for temporary hold, or screws until set, ensuring even pressure.
- Can you glue plywood to make it thicker?
Yes, laminate sheets with epoxy or PVA glue, dowels for alignment, and clamps for 24 hours.
- Best way to join plywood at 90 degrees?
Pocket screws, L-brackets, or rabbet joints with glue provide secure corners.
- Strongest adhesive for plywood?
Epoxy or phenol formaldehyde (PF) delivers top bond strength and moisture resistance.
Bonus tip: exploring different techniques
While this guide focused on basic butt joints, the world of plywood joinery is vast! For stronger or more aesthetically pleasing joints, consider exploring techniques like:
- Lap joints: These create a stronger bond by overlapping the plywood pieces.
- Dado joints: These involve cutting grooves in one piece for the other to fit into, creating a flush and secure joint.
- Pocket hole joints: These use screws hidden within the joint for a clean, visible surface.
Conclusion
So, start off by choosing the glue, prepping the plywood, spreading the glue, clamping the plywood pieces, and waiting for the glue to set. As the icing, clean the plywood. That’s that.
Practice makes perfect. Don’t be afraid to experiment with different techniques and glues to find what works best for your project.
Other Locations
Plywood Suppliers in Kerala | Plywood Suppliers in Bangalore | Plywood Suppliers in Chennai | Plywood Suppliers in Hyderabad | Plywood Manufacturers in Mangalore | Plywood Manufacturers in Coimbatore | Plywood Manufacturers in Tamilnadu | Plywood Manufacturers in Mysore | plywood manufacturers in india | Plywood Manufacturers in Kerala | Plywood Manufacturers in Bangalore | Plywood Manufacturers in Chennai | Plywood Manufacturers in Hyderabad | India to saudi plywood exporters | Fireman plywood


