Toll free number

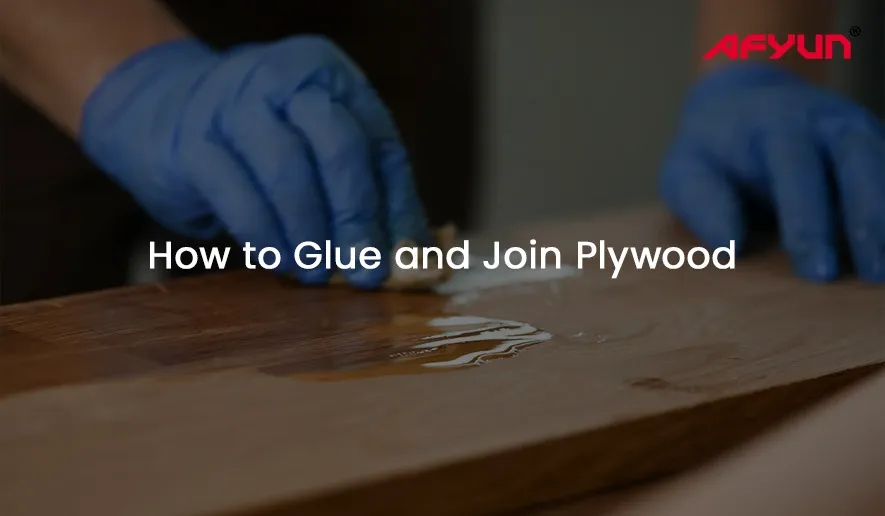
How to Glue and Join Plywood

So you’ve got your hands on some trusty plywood, ready to bring your project to life. But wait, how do you transform those individual panels into a seamless masterpiece? 

The answer lies in the art of glueing and joining. 

Don’t worry, even if you’re new to the world of woodworking, this guide will equip you with the knowledge and confidence to tackle this task like a pro.

Step 1: Choosing Your Glue

The first step is picking the right glue for the job. 

For plywood projects, your best bet is aliphatic wood glue. It’s easy to use, dries strong, and cleans up with just water. Look for brands like Titebond II or Gorilla Glue Carpenter’s Wood Glue. 

Avoid using superglue – it dries too fast and won’t create a strong, lasting bond.

Step 2: Prepping Your Plywood

Before the glue flies, make sure your plywood is ready to be attached. 

Here’s how:

  • Cut clean: Use a sharp saw to ensure straight, even cuts. Rough edges won’t glue well.
  • Sand smooth: Give both glueing surfaces a light sanding to remove any dust or debris.
  • Test fit: Dry-fit your plywood pieces to ensure they align perfectly. Practice makes perfect!

Step 3: Spreading the Glue

Now comes the fun part – applying the glue! Use a brush or roller to spread a thin, even layer on one of the glueing surfaces. Avoid putting too much – excess glue weakens the joint.

Step 4: Clamp the Pieces

Here’s where the clamps come in. 

Clamp the glued pieces together firmly, applying even pressure across the entire joint. 

Use enough clamps to prevent gaps and ensure a strong bond. If you don’t have clamps, improvise with weights like heavy books or bricks.

Step 5: Let the Glue Set

Resist the urge to break out the dance moves just yet. The glue needs time to work its magic. 

Refer to the glue’s instructions for drying time, which can vary depending on the brand and thickness of the glue layer.

Step 6: Cleaning Up the Mess

Once the glue is dry, you might notice some squeeze-out around the joint. Wipe it away with a damp cloth before it dries completely. 

Remember, a clean project is a happy project!

Bonus Tip: Exploring Different Techniques

While this guide focused on basic butt joints, the world of plywood joinery is vast! For stronger or more aesthetically pleasing joints, consider exploring techniques like:

  • Lap joints: These create a stronger bond by overlapping the plywood pieces.
  • Dado joints: These involve cutting grooves in one piece for the other to fit into, creating a flush and secure joint.
  • Pocket hole joints: These use screws hidden within the joint for a clean, visible surface.

Conclusion

So, start off by choosing the glue, prepping the plywood, spreading the glue, clamping the plywood pieces, and waiting for the glue to set. As the icing, clean the plywood. That’s that. 

Practice makes perfect. Don’t be afraid to experiment with different techniques and glues to find what works best for your project. 

Quick Links:

Plywood Price | Plywood Price in India | Calibrated Plywood Price | Gurjan Plywood | Fire Retardant Plywood | Waterproof Plywood | Marine Plywood Price
Plywood Storage Made Simple: Our Top Tips

Plywood is a popularly used building material in the construction industry. 

Its strength, durability, and affordability make it an ideal choice among builders and craftsmen alike. 

However, proper storage is essential to maintain the quality and integrity of plywood sheets, ensuring they remain usable for your projects. 

In this blog, we’ll explore some essential tips for storing plywood to prevent warping, damage, and deterioration.

Choose the Right Location

Always opt for a dry, well-ventilated area away from direct sunlight and moisture. 

Exposure to moisture can lead to warping and delamination of plywood sheets, causing them to be unfit for use. 

A temperature-controlled environment, such as a garage or a shed, is ideal for storing plywood.

Keep it Flat and Supported

Stacking plywood sheets horizontally on a flat, level surface ensures even weight distribution and minimizes the risk of warping. 

Also, provide adequate support underneath the entire stack to prevent sagging or bending of the bottom sheets.

Use Spacer Strips

To further protect plywood sheets from damage, consider placing spacer strips between each layer when stacking multiple sheets. 

These spacer strips, typically made of lumber or plywood scraps, help distribute weight evenly and reduce the risk of compression damage along the edges and corners of the sheets.

Here are the steps to make plywood spacers:

  • Use sturdy plywood sheets of uniform thickness. Measure and mark the desired width and length for the spacers. Cut the plywood along the marked lines using a saw.
  • Sand the edges of the plywood spacers to remove any roughness or splinters, ensuring they won’t damage the plywood sheets during storage.
  • Apply paint or sealant to the plywood spacers for added protection against moisture and to match your storage area’s aesthetics. Allow the paint or sealant to dry completely before use.
  • Stack the plywood spacers between plywood sheets during storage to allow for proper airflow and ventilation. Regularly inspect and replace damaged spacers to support your plywood stack consistently.

Avoid Ground Contact

Direct contact with the ground can expose plywood to moisture, pests, and other potential hazards. 

Always keep plywood sheets off the ground using pallets, blocks, or other sturdy supports. This elevation helps improve airflow around the sheets and minimizes the risk of moisture absorption from the ground.

Cover and Protect

While plywood is relatively resilient, it’s still susceptible to damage from dust, debris, and other environmental factors. 

Covering plywood stacks with a breathable material, such as a tarp or heavy-duty plastic sheeting, helps shield them from dust and prevents moisture buildup while still allowing air circulation.

Rotate Stock Regularly

If you have a stock of plywood sheets that aren’t being used immediately, make it a habit to rotate them regularly. 

By periodically rearranging the stack and using older sheets before newer ones, you ensure that all your plywood inventory gets used, reducing the risk of prolonged storage-related issues.

Inspect for Damage

Before using stored plywood for a project, take the time to inspect each sheet for any signs of damage, warping, or moisture absorption. 

Discard any sheets that show visible signs of deterioration to prevent compromising the structural integrity of your projects.

Consider Climate Control

In regions with extreme temperature or humidity fluctuations, investing in climate-controlled storage options, such as a dehumidifier or air conditioner, can help maintain stable conditions and reduce the risk of moisture-related damage to plywood.

The Final Words

Proper storage practices are essential for maintaining the quality and usability of plywood sheets. 

To maintain a long-lasting life span for your plywood, it is important to follow these measures.

What’s the big deal about this? A little care and attention during storage can go a long way in preserving the integrity of your plywood and maximising its lifespan.

Quick Links:

Plywood Price | Plywood Price in India | Calibrated Plywood Price | Gurjan Plywood | Fire Retardant Plywood | Waterproof Plywood | Marine Plywood Price

Enquire Now