Plywood, a versatile engineered wood product, has become a cornerstone in industrial applications. From construction to automotive manufacturing, its unique properties make it indispensable across industries.
In this blog, we’ll explore the role of plywood in various industrial domains, highlighting its versatility, durability, and cost-effectiveness.
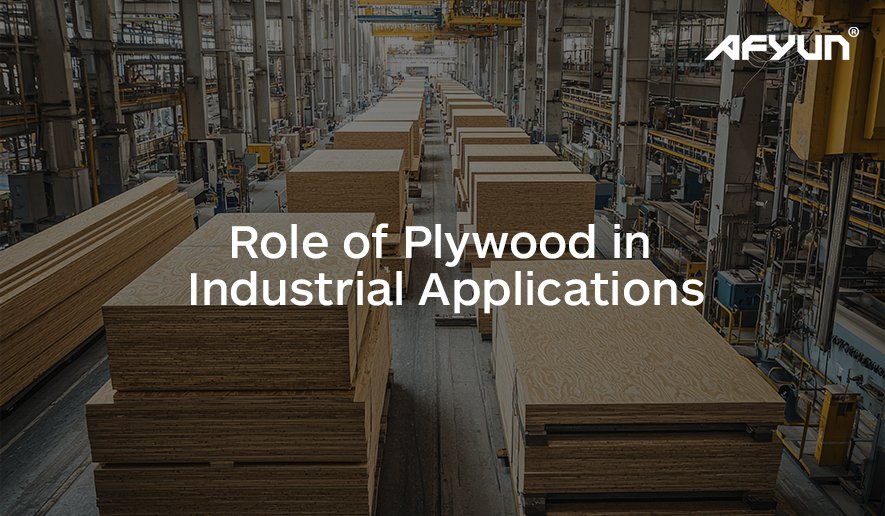
Industrial Applications of Plywood
1. Construction and Infrastructure Development
Plywood has been a staple in the construction industry for decades. Its strength, durability, and adaptability make it suitable for various structural and non-structural uses.
- Shuttering/Concrete Formwork: Plywood is extensively used in casting concrete structures. Its smooth surface ensures high-quality finishes, while its reusability makes it a cost-effective choice.
- Structural Elements: Structural-grade plywood offers support and insulation in roofing, flooring, and wall sheathing
- Scaffolding Platforms: With high load-bearing capacity, plywood scaffolding platforms ensure worker safety during construction projects.
2. Furniture Manufacturing
The furniture industry depends heavily on plywood for its combination of strength and aesthetic adaptability.
- Office Furniture: Plywood is used to create ergonomic chairs, desks, and storage units, which require durability and a polished look.
- Residential Furniture: Its ability to hold screws and nails firmly makes it a favourite for cabinets, wardrobes, and modular furniture.
- Custom Designs: Flexible plywood is ideal for creating curved and artistic furniture pieces.
3. Automotive and Transportation Industry
Plywood plays a critical role in the manufacturing of vehicles, contributing to both interiors and structural elements.
- Flooring: Heavy-duty plywood is used for truck and bus flooring due to its ability to withstand high loads and rough usage.
- Interior Panels: Lightweight and smooth, plywood panels enhance the aesthetic and functional aspects of vehicle interiors.
- Trailers and Cargo Carriers: Plywood serves as a durable and economical choice for building trailer walls and ceilings.
4. Packaging and Logistics
For industries relying on the safe transportation of goods, plywood is a go-to material. Its ability to endure heavy loads and resist environmental damage ensures products are shipped securely.
- Export Crates: Plywood is compliant with international shipping standards, making it an ideal material for global trade.
- Pallets and Boxes: Lightweight yet strong, plywood pallets are preferred for transporting industrial equipment and goods.
- Reusable Packaging: Plywood packaging can be designed for multiple uses, reducing waste and overall costs.
5. Marine and Coastal Applications
Marine-grade plywood is engineered to perform in wet and humid environments, making it indispensable in the marine industry.
- Boat Building: Used for hulls, decks, and interiors, marine plywood is treated to resist water damage, fungi, and pests.
- Dock and Wharf Construction: Its durability ensures structural integrity in coastal infrastructure.
- Marine Furniture: Crafted for aesthetic appeal and resilience, it is used in yachts and luxury boats.
6. Industrial Manufacturing
Plywood’s versatility extends to specialised manufacturing processes, where it serves as a functional and aesthetic component.
- Machine Covers: Plywood is used to create enclosures for machinery, providing protection and noise insulation.
- Die Cutting: High-density plywood serves as a base material in die-cutting machines, offering precision and durability.
- Partitions and Panelling: In factories and warehouses, plywood is used for space management and creating soundproof enclosures.
Advantages of Using Plywood in Industrial Applications
- Cost-Effective: Plywood offers a balance of quality and affordability compared to solid wood and other alternatives.
- Durability: Its engineered structure ensures a longer lifespan.
- Easy to Work With: Plywood can be easily cut, shaped, and joined, reducing manufacturing time.
- Eco-Friendly Options: With certified products, industries can opt for sustainable solutions without compromising performance.
Conclusion
Plywood’s adaptability and robust properties make it a cornerstone in modern industrial practices. From the towering skyscrapers shaping urban landscapes to the interiors of automobiles and the sturdy decks of marine vessels, plywood continues to prove its unparalleled utility across industries.
If you’re looking for high-quality plywood tailored to meet industrial demands, Afyun offers a diverse range of solutions designed for durability, performance, and sustainability. Explore Afyun’s extensive range of products to find the right plywood for your specific needs.
You may also like: Plywood Manufacturers in Kerala | Plywood Manufacturers in Mangalore | Plywood Manufacturers in Bangalore | Plywood Manufacturers in Chennai | Plywood Manufacturers in Tamil Nadu