Plywood is one of the most versatile and widely used materials in exhibition design, offering a unique blend of strength, flexibility, and aesthetic potential.
Its applications in exhibitions range from structural frameworks to decorative finishes, making it a cornerstone for both temporary and permanent installations.
This blog explores the various uses of plywood in exhibitions, its advantages, and considerations for sustainable and conservation-sensitive applications.
Core Applications of Plywood in Exhibitions
- Structural Frameworks and Stands
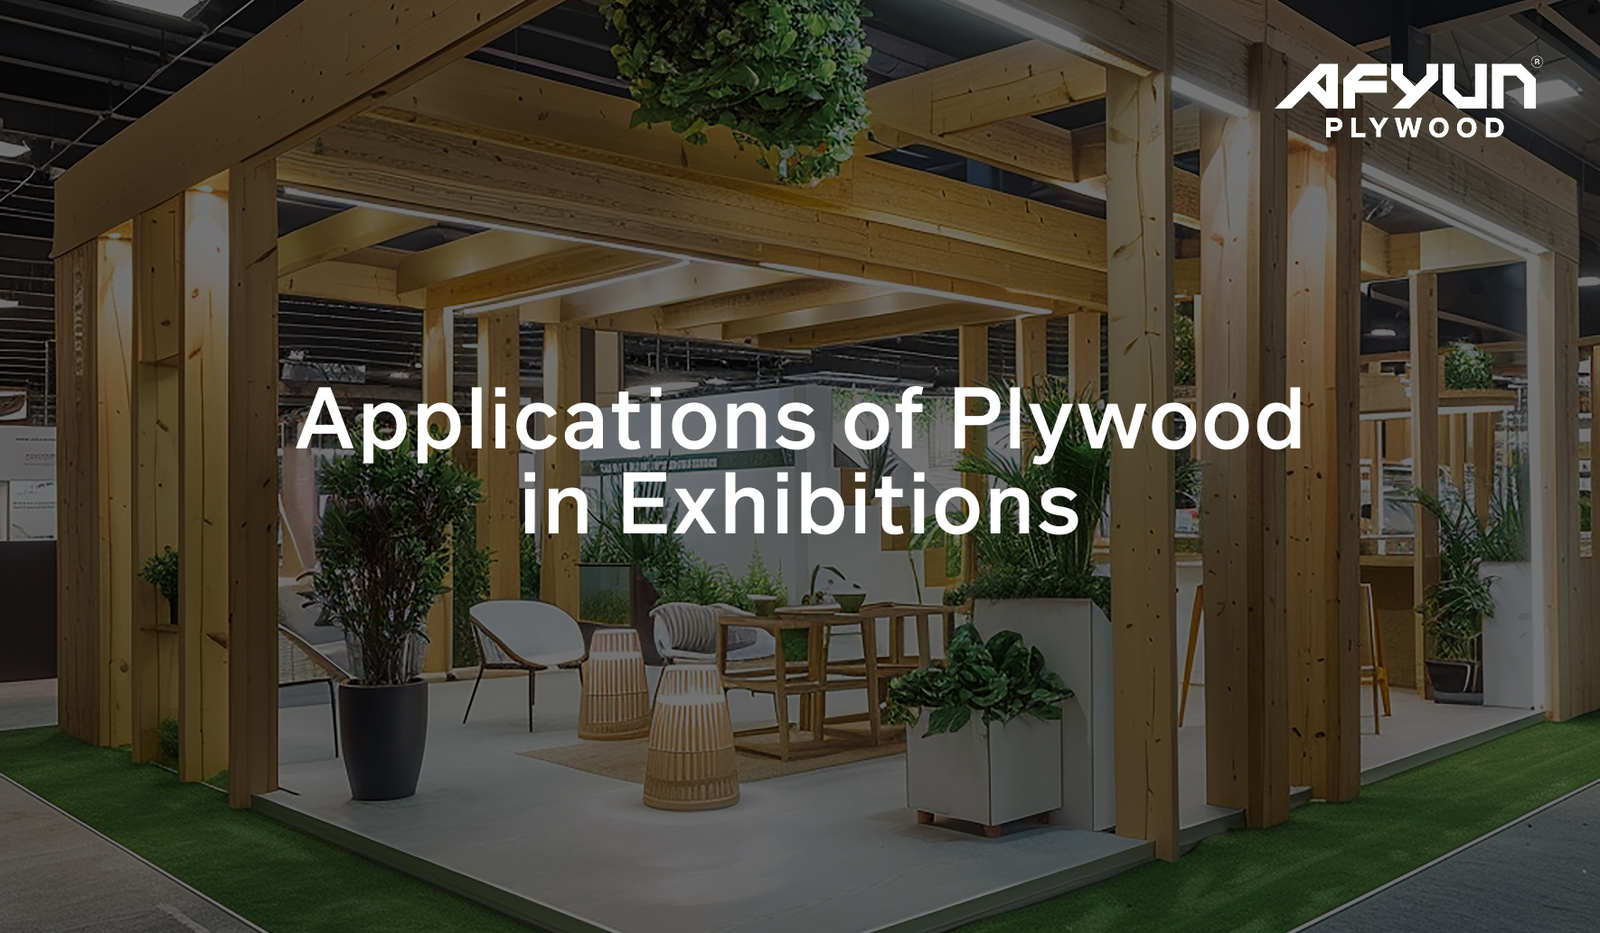
Plywood is frequently chosen for constructing the main framework of exhibition stands and booths. Its inherent strength and rigidity allow designers to create large, open spaces without excessive support structures, ensuring unobstructed visitor flow and clear sightlines.
The modular nature of plywood also enables stands to be dismantled, stored, and reused for future events, reducing waste and supporting sustainability.
- Walls, Partitions, and Ceilings
Plywood panels are commonly used to build walls, partitions, and false ceilings within exhibition spaces. These elements help define different zones, create a sense of privacy, and guide visitor movement.
The material’s smooth surface is ideal for mounting graphics, signage, and interactive displays, while its structural integrity ensures safety and durability throughout the event.
In theatres and art exhibition spaces, plywood is often used for both permanent and temporary scenery, allowing for rapid transformation of the environment to suit different themes or narratives.
- Custom Furniture and Display Units
Exhibition designers frequently use plywood to craft custom furniture, shelving, and display units. The material’s workability allows for intricate shapes and forms, making it possible to create unique, branded environments that stand out from the competition.
Plywood-based furniture can be designed to be lightweight yet robust, supporting the display of products, samples, and promotional materials.
- Decorative and Thematic Elements
Plywood’s natural grain and finish can be highlighted to create warm, inviting atmospheres, or it can be painted, laminated, or veneered to match specific branding or thematic requirements.
Its versatility enables designers to experiment with textures, colours, and finishes, resulting in exhibition spaces that are both functional and visually engaging.
The ability to cut, shape, and assemble plywood easily also supports the creation of bespoke decorative features, such as sculptural installations, signage, and interactive exhibits.
Advantages of Using Plywood in Exhibitions
- Versatility and Customisation: Plywood can be cut, shaped, and finished in countless ways, allowing for highly customised designs that reflect a brand’s identity or an exhibition’s theme.
- Strength and Durability: Despite its relatively light weight, plywood is strong and durable, making it suitable for both structural and decorative applications.
- Sustainability: When sourced from responsibly managed forests and certified by organisations such as the FSC (Forest Stewardship Council), plywood is a renewable and eco-friendly material. Reusable and modular plywood structures further reduce environmental impact by minimising waste.
- Cost-Effectiveness: Plywood is generally more affordable than solid wood, while offering similar aesthetic and structural benefits. Its modularity and reusability also contribute to long-term cost savings.
- Ease of Assembly and Transport: Plywood panels are lightweight and easy to assemble, disassemble, and transport, making them ideal for temporary exhibitions that require quick setup and takedown.
Considerations for Conservation and Sustainability
- Material Selection
When selecting plywood for exhibition construction, it is important to consider the type of adhesive and core material used. For conservation-sensitive environments, such as museum exhibits, softwood plywood with exterior-grade phenol-formaldehyde adhesive is recommended due to its low emission of volatile organic compounds (VOCs).
- Barrier Films and Sealants
To further protect sensitive exhibits from potential off-gassing and acid emissions, plywood surfaces can be isolated with barrier films, conservation-appropriate sealants, or plastic laminates.
Ventilated display case designs are also recommended to ensure adequate air exchange and prevent the buildup of pollutants.
- Sustainable Practices
Exhibition designers are increasingly adopting sustainable practices, such as reusing modular structures and incorporating recycled or reclaimed materials. These approaches not only reduce environmental impact but also enhance brand image and appeal to eco-conscious audiences.
Ready to Elevate Your Exhibition with Plywood?
Plywood’s blend of strength, versatility, and sustainability makes it a go-to material for dynamic exhibition design. From frameworks and furniture to decorative features and branded installations, it offers endless possibilities for functional, creative, and eco-conscious spaces.
At Afyun, we bring expertise, innovation, and craftsmanship to our products, helping brands build impactful exhibition environments using the full potential of plywood and other sustainable materials.
Contact us today to start building your next standout exhibition experience with Afyun.
Other Locations
Plywood Suppliers in Kerala | Plywood Suppliers in Bangalore | Plywood Suppliers in Chennai | Plywood Suppliers in Hyderabad | Plywood Manufacturers in Mangalore | Plywood Manufacturers in Coimbatore | Plywood Manufacturers in Tamilnadu | Plywood Manufacturers in Mysore | plywood manufacturers in india | Plywood Manufacturers in Kerala | Plywood Manufacturers in Bangalore | Plywood Manufacturers in Chennai | Plywood Manufacturers in Hyderabad